Sunday, October 31, 2010

Week 5: Antics, Squash, and Stretch

So far I think I can say Animation Mentor weeks are nuts in every good way possible, without fear of being rebutted anytime soon. They're also challenging, and exhausting---particularly this week.

The focus was on the importance of anticipation, and applying squash and stretch. Shawn hosted the lecture. It truly is amazing how much more complex than what I thought these principles are. Anticipation has always been a no-brainer for me. It is the mechanical buildup of force, and it doesn't make sense to omit antics, unless, of course, you do so with intent and for comedic purpose(or anything). A human jumping, for example, will squash down to anticipate the jump: he will build up the energy required to fire himself up in the air.

But anticipation can be so much more than a boxer winding back for a punch. In the lecture, they talked about how even a blink can anticipate an action. We have at our disposal a tool that can be so powerful in its subtlety.

Look at this example I came accross this week:
http://www.youtube.com/watch?v=LT5TKk1EqG0&feature=related
This is part of a bunch of marketing videos for Disney's "Tangled" (which looks unbelievable, really pushing 3D animation!).  
At the very end of the clip, Rapunzel's hair falls on Flynn, and the horse laughs. Look closely, if you can, at what happens before the laugh. The horse has a very subtle, sudden shrug before bursting into a laugh. That's what gets us laughing. The punchline is being built up by the shrug, which tells us it's gonna be one hell of laugh before we know it.

An example I hadn't thought of, and proof of just how complex this stuff is, is anticipation in walks. If we look at what happens with the waist, it's incredible how this principle applies to everything. When a person steps into the next foot, his waist will move back and twist in the opposite direction just before lifting the foot of that leg, and then travel along with it as we expect. This blew me away. There's an explanation for it too. Locomotion requires weight shifts. The waist pulls and twists back to peel weight off the planted foot, kind of like pulling on it. Once that happens, the foot is triggered to lift, and the waist can now move forward. So, we can think of the waist as a  sort of pulley.

The lecture was also about Squash and Stretch, because it relates to Anticipation. We learned about creating different compression zones in the body, like expanding and compressing the legs. This is considered squashing and stretching. It's really everywhere! We can use the line of action and silhouette to convey SS.

Finally, they left us with an amazing tip, which I used a lot in my latest assignment. It is much easier to push an action too far at first, and then tone it down. If you end up deciding later that you want a bigger action, but you've been animating small actions, you'll end up with too much counter-animating and graph cleaning to do.

Royce gave us a great Q/A. He spent a lot of time answering questions, much to our delight, about what it is like to work at Pixar. He also went through some shots he did and showed us his ways of applying squash and stretch, and the importance of rythm.

ASSIGNMENTS


My approach was to great a strong sense of rythm and beat to the animation. I spent a lot of time working out the spacing and the timing, as well as the squashing of the ball. Planning this shot was hell! I had writers block, so to speak. 

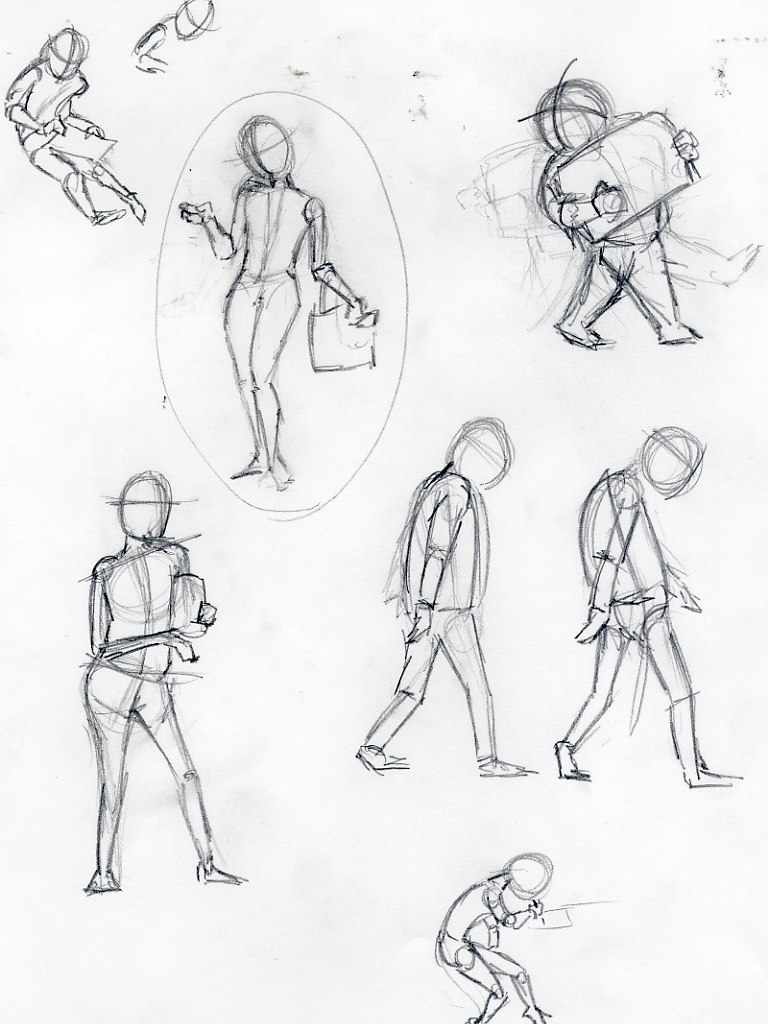
This is my posing homework. We had to portray "Devastation"


Here is my revision for last weeks assignment.

Maybe I wrote a bit too much this time around!  Thanks for reading, and I'll post my revisions for the week after word from my mentor.

Cheers!

Tuesday, October 26, 2010

Animation Station.

Replicas and goodies on my desk.


Saw this Steamboat Willie, hand carved, and I HAD to get it.


The all-important Animator's (TRUE) Survival Kit:  The espresso Machine!!  (I figured I should get one that had some funk to it ;) )


Sunday, October 24, 2010

For Old Time's Sake

This was an assignment I did last year while studying at Mel Hoppenheim School of Cinema. During second year, students are forced to try a lot of experimental styles. We had to do a short animation using charcoal, under-the-camera. For those of you who don't know what that means: I had to erase and draw over every single frame!  Enjoy (it's not entirely finished)


At the time, I dreaded the idea of doing this. Looking back on it, I certainly learned a lot about principles. When you have no way of testing your shot before doing it, you have to learn to have a feeling for what you're going to end up with. It allowed me to think and plan a lot before I went ahead and drew my frames, and to trust my gut instincts on timing and the fundamentals!

Friday, October 22, 2010

Week 4 update

quick revision after comments from a lot of students:


Week 4: Heavy and Light balls (and week3 revisions)

Just finished my assignments and I'm about to pass out! This week was just awesome. Shawn Kelly held a q/a session and based on his 2 hour talk with us (yeah, he went an hour overtime) I've concluded that this is gonna be the funnest job in the world!

Our focus was specifically on timing and spacing for Week 4. Carlos Baena gave a great lecture on different ways to approach timing and how much it makes a difference in your shot. I learned a truck load working on this assignment. We had to animate two balls that contrast in weight. I decided to make them interact in a fun way, and it was quite a challenge. I spent so much time on the graph editor trying to clean out the spacing and make it feel natural.

Royce gave a great Q/A. He took us through an approach to animating bouncing balls and how to tackle the curves to clean up the shot, and what details to pay attention to.


Because we don't yet have a squash channel on the ball rig, and Royce doesn't want us to use one, I lowered the beach ball into the ground and forced the balls into each other, or walls, on impact for one frame to give the feeling of squashing.

WEEK 3 REVISION:

I've never had a teacher that goes into so much detail when it comes to correcting, critiquing, and guiding me to push my animation to be the best it can be.  Even this week he admits he was very picky, but our class just loves that. He's got the Pixar touch !  I'm really learning to look at my shots in a different way, and how important small details are. Maybe you don't see those extra two frames, but you sure feel them! In the end, you'll get that extra "oumf" factor.
Here's my corrected basketball:


And for my pose, Royce suggested I be less forceful with the silhouette, because I sacrifice a lot of force in the pose by doing so. As long as the pose remains clear. The body was a bit off balance, so I rotated the spine to the screen-right a bit. I pushed the left arm in to give a stronger "Yes!" feeling, and I straightened out the arm holding the club to give more power, among other changes.


Saturday, October 16, 2010

Week 3: Planning & Blocking methods

This week we learned about different ways to plan out a shot, and the importance of doing so. We also learned a lot about different blocking methods and how it relates to CG.

Our main assignment was to do a 50-100fr bouncing ball that felt like a basketball. Seems basic enough, but it was a lot harder than you'd think! The arcs are easy enough to figure out--the real challenge is the timing and spacing.  Here's what I got:


I learned a great deal doing this shot (and I'm sure I'll learn a lot more when Royce takes a swing at it!). An interesting thing was having the wall there.

Originally, my ball was unobstructed, but I was forcing the stop in order to keep the ball in the shot. There was this really nice post from a capus mentor that helped a lot. A common mistake--my mistake-- is to have a nice feeling off the start, but then to force a feeling that the mass of the ball changes dramatically. You lead the audience on to accept that the ball is a certain weight, but after a couple of bounces, it seems to get WAY heavier. Here was my first attempt:


After looking into this problem, I decided to add a wall to solve the issue of keeping the ball in the shot. When the ball hits the wall, I treated it as if the wall became the floor  (when looking at the horizontal translation curves in the Graph Editor).   It makes no sense for the ball to slow down before hitting the wall, so I made sure to break the tangents and bring them close together. However, when the ball hits, it is going downward. The friction of the wall is directed upwards to oppose the motion of the ball.  So, instead of keeping the vertical speed of the ball the same, I lowered it just a tiny bit!  I also took away from the horizontal speed after hitting the wall.  Here's my final product:


Lastly, our Posing assignment this week was excitement: 


Hole in one!   I think his head and eyeline could be better, but let's see what Royce thinks!

Cheers

Tuesday, October 12, 2010

Week 2: Revision

Got my first critique from Royce on monday, and I have to admit, the guy is extremely helpful. He goes into so much detail during his critiques and you really end up with an in depth knowledge of where you can improve, how to do it, and most importantly, why.  Also, he's generous with times. Most people in my class had almost 15 minutes of correction time with him, and I spent most of the day watching my classmates' critiques and I learned a ton!

Royce went through the sketches and suggested that I take poses from real life drawing and accentuate, exaggerate them--and see how far I can push certain poses. In essence, this'll let me explore different ways to make poses interesting.


As for the pose I did with the Stu character in 3D, Royce suggested I take the feeling of having the ditsy, young girl and pushing that a lot farther. I had been concentrated almost entirely on silhouette, and he explained that things don't need to be separated all the time (like the small empty space between the arms and torso that i had forced in there!) :  things can overlap and interact, as long as the silhouette is clear.  He suggested I accentuate the line of action and, to make her seem more like a young, careless girl, push the top of her body back a bit.  Instead of having her head fixed to the phone in a very cliche way, I could then tilt it the complete opposite way to enforce that feeling of "ditsy". It keeps the feeling that she's fixed to the phone, but it makes the pose so much more interesting, and readable! The arms should be kept against her body as support, because no one holds a bag, regardless of its not very head, without having some kind of hooking against the body.  I learned so much from his critique and I'm psyched to have Royce as a teacher.


and after some playing around and using Royce's input, this is what I came up with:


I think this is so much better than what I had. Hopefully you guys think so too  (Gen! ). She really feels young and princess-like. I might play around with it a bit more, but first I hafta get started on my homework for Week 3.

This week we're learning basic planning, thumb-nailing, and we have to animate a Basketball doing some basic bounces to learn about timing and spacing.

Sunday, October 10, 2010

Bird Animation tips and analysis

Was cruising the AM forums and I bumped into an amazing link that takes an in depth look at bird flight animation:  http://www.brendanbody.co.uk/flight_tutorial/index.html

this is DEFINITELY worth checking out for all you animators!

Check out his blog http://brendanbody.blogspot.com/ .  Some of the best tips and tricks for animation I've seen in a while

Saturday, October 9, 2010

Week 2: Sketching and Posing

This week our job was to go out into public areas and sketch people doing everyday things. It was definitely awkward at first, but you get used to it! Among our sketches, we had to take our favourite, most appealing, and pose STU (our first rig) based on that sketch. I drew a girl who was busy texting while holding her shopping bag in a super ditsy way.

Here are the sketches. They're pretty rough because people were just walking around and moving, so the point is to draw really quick sketches with the general idea of the pose.


and here's Stu, posed like the circled sketch.


Sunday, October 3, 2010

First Week Done!

I'm speechless. What a week it's been. AnimationMentor is everything you expect it to be and a whole lot more! When the campus was finally opened to us new class 1 students, we were all pretty much amazed at how detailed it was. I am completely blown away by the campus and by the resources available.  It really is a school, only it's all on the internet. It feels like there's nothing they forgot, and the tech/student support is extremely efficient. The library and training videos sections are awesome! I feel so lucky to have access to these amazing interviews and videos by animation legends.

On monday, I watched the first lecture and I found myself smiling through the whole hour and a few minutes. Shawn Kelly was incredibly inspirational, can't wait to meet the guy! The lecture itself was like a big introduction to what we can expect, and it included all these industry animators talking about animation. At one point, Shawn warned us about building our basics and foundations before doing anything else by showing us something he animated early on as a student, skipping the basics. It was hilarious (sorry Shawn :P ).

On the importance of critiques and second opinions: I'm a huge fan of critiques and letting other people see my work. It was always for personal improvement, but now I see it as something completely different. During the lecture Shawn explained that critiques are so important because you're creating something for an audience! I thought that was such a great way to put it.

I'm so happy to be a part of this. All the students share my passion for character animation. I was surprised that most of the students were on the same boat as me: we went to film school and the school offered a training that was too broad and seemed to teach anything BUT character animation.  To me, animation is such a powerful art. We quite literally give life to things that aren't real! On top of that, its always different and exciting. The mentors talked a bit about how animation is a life-long learning process and that's such a wonderful aspect of our job.

"you can never learn everything there is to learn about animation. Thats one of the coolest thing about our art--you can't learn it all!!"      Shawn Kelly


The second part of the week to look forward to was the Q/A sessions, where we would meet our mentors. Mine was with Paul Allen, and we actually went passed the limit by 20-30 minutes. It was awesome. It really felt like a classroom. At first, you're nervous because you don't know what to expect, but the mentors are here to guide and help you.

My schedule was originally at 10-11PM Est.  I applied to swap into a morning class and got switched into Royce Wesley's q/a. He's an incredible animator, originally from Blue Sky, now working full time at, yes, Pixar!!

Check out his website / demo reel by clicking on his name in my "mentors" section

I'm psyched to start learning next week! BRING IT